Why Proper AC Indoor Unit Installation Makes All the Difference
AC indoor unit installation is a process that combines DIY-friendly mounting with professional refrigerant and electrical work. While you can handle the physical mounting yourself, the technical connections require a certified technician for safety and warranty protection.
Key steps for installing an AC indoor unit include:
- Mounting the indoor bracket securely to wall studs.
- Drilling a lineset hole through the exterior wall at a downward angle.
- Installing the indoor unit and feeding lines through the wall.
- Hiring a professional for refrigerant lines, electrical wiring, and drain setup.
- Commissioning the system to test and verify proper operation.
The installation process varies by system type, but both mini-split and central air systems require professional handling of refrigerant and high-voltage electrical connections.
Modern air conditioners are often larger but more efficient than older models, so your new unit may need a different location. The indoor unit should be mounted at least 7-8 feet from the floor with proper clearance for airflow.
The key to a successful installation is understanding which parts you can safely handle and which require professional expertise. For example, it is unlawful to vent refrigerant, a task that requires specialized equipment and EPA-certified personnel.

Before You Begin: Planning and Preparation
Proper ac indoor unit installation starts with careful planning. Understanding your options upfront will save you headaches later.
Central air conditioners are a great choice for homes with existing ductwork, providing consistent cooling throughout the house. The equipment is largely hidden, offering an aesthetically pleasing solution.
Ductless mini-split systems, like the reliable Daikin models we specialize in, are perfect for homes without ducts or for cooling specific zones like additions or hot upstairs bedrooms. Each indoor unit connects to an outdoor unit, providing zone control that can lower energy bills.
Window and portable ACs are budget-friendly for single rooms but lack the efficiency and power for whole-home comfort.
Sizing your system correctly is crucial. An undersized unit runs constantly, while an oversized unit cycles improperly, leading to humidity issues. We perform load calculations based on square footage, ceiling height, insulation, windows, and the Southwest Missouri climate to find the right fit. For example, a room up to 350 sq. ft. might need a 5,000-8,000 BTU unit, while a space up to 1,000 sq. ft. could require 12,000-18,000 BTUs.
Energy efficiency, measured by SEER2 ratings, impacts your long-term costs. Higher ratings (13-25+) mean lower energy bills. ENERGY STAR-certified models are a smart investment.
| System Type | Pros | Cons |
|---|---|---|
| Central Air Conditioner | Whole-house comfort with consistent temperatures, aesthetically pleasing with hidden components, high efficiency with excellent SEER2 ratings, increased home value, improved air quality with advanced filtration | Requires ductwork installation if not present, higher initial cost due to complexity, single-zone control typically, efficiency loss through duct leaks, larger outdoor unit footprint |
| Ductless Mini-Split | Zone control for independent room temperatures, no ductwork needed for homes without ducts, heating and cooling in one system, high efficiency with good SEER2 ratings, quiet operation, improved air quality with advanced filtration | Visible indoor units on walls or ceilings, multiple units needed for whole-house cooling, professional refrigerant handling required, multiple filters to maintain |
| Window/Portable AC | Low initial cost and easy DIY installation, no permanent installation needed | Inefficient with lower SEER ratings, noisy operation, security risks with window units, obstructed views, limited cooling capacity |
When you’re ready to explore your options further, check out our guide to Choose the Right Home AC Installation.
Key Considerations for Your AC Indoor Unit Installation
Location directly affects your system’s performance and longevity.
- Wall Strength: Mount the unit to wall studs for solid support. Use a stud finder to locate them.
- Airflow Clearance: Allow at least 6 inches of open space around the top and sides for proper air circulation. Keep the unit away from heat sources.
- Proximity to Outdoor Unit: Shorter refrigerant lines (ideally under 50 feet) improve efficiency.
- Drainage Planning: The location must allow for a proper downward slope for the condensate line to prevent water damage.
- Sunlight Exposure: Avoid direct sunlight, which can confuse temperature sensors and cause inefficient operation.
- Electrical Access: A dedicated electrical circuit must be nearby.
For the DIY portion, you’ll need a stud finder, level, drill, hole saw (2-3.5 inches), wrenches, and sealant. While you can handle mounting, the refrigerant and electrical connections require a professional from Henderson Heating & Cooling to ensure safety and protect your 12-year Daikin warranty.
A Step-by-Step Guide to AC Indoor Unit Installation
This section covers the physical mounting of the indoor unit. While some homeowners can tackle these steps, we recommend a professional for the final technical connections to ensure safety, legality, and warranty protection.
Step 1: Mount the Indoor Bracket
The mounting bracket must be solid and properly angled for drainage. Start by choosing a location with a short, direct path outside for the lineset and at least 4-6 inches of clearance from the ceiling.
Use a stud finder to locate wall studs, as they provide the necessary support for the unit’s weight. Mark the stud locations. If studs don’t align with the bracket holes, use heavy-duty drywall anchors rated for the unit’s weight.
Hold the mounting plate against the wall and use a level. This step is critical: the bracket needs a slight downward tilt toward the outside for condensate drainage. A perfectly level bracket will not drain correctly. Mark your drill points, drill pilot holes, and secure the bracket with screws. It should feel completely solid.

Step 2: Drill the Hole for the Lineset
This hole allows the refrigerant lines, electrical cables, and condensate drain to connect to the outdoor unit. Most units have this connection point behind them.
Start with a small pilot hole from the inside to check the exit point on the exterior wall, ensuring you avoid obstructions like light fixtures or gutters.
Using a hole saw (typically 2 to 3.5 inches), drill at a slight downward angle, so the exterior end is about 5-7mm lower than the interior end. This ensures water drains away from your home. If drilling through siding, run the drill in reverse first to prevent cracking. Once the hole is drilled, insert a PVC sleeve cut to your wall’s thickness to protect the lineset.

Step 3: Mount the Indoor Unit and Run the Lines
This step requires careful handling of the copper refrigerant lines. On the back of the unit, you’ll find the lines, communication wire, and drain hose. Never force a bend or create sharp kinks in the sensitive copper lines; use gentle, gradual curves.
Bundle the lines together with electrical tape. The condensate drain hose must be at the bottom of the bundle to allow gravity to drain water effectively.
Feed the bundled lines through the wall sleeve slowly to prevent kinking. Once through, lift the indoor unit onto its bracket, hooking it onto the top tabs first. Gently push the bottom until it clicks into place. A gentle tug will confirm it is secure.

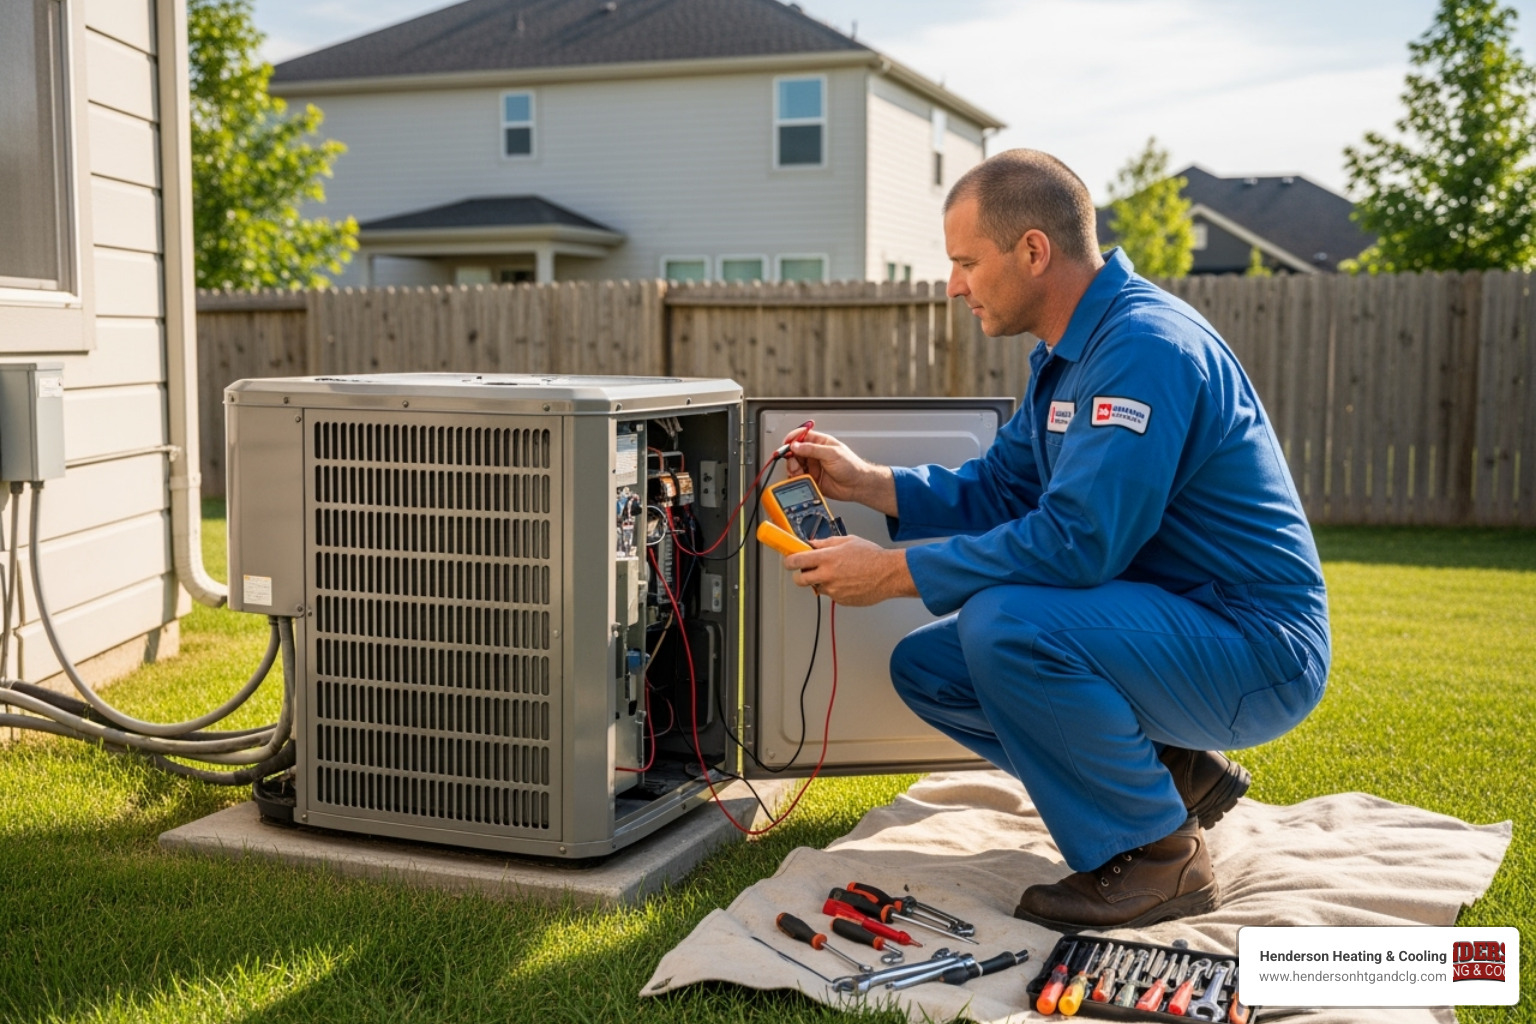
Critical Connections: Why a Professional is Essential
This stage involves refrigerant handling and high-voltage electricity, tasks that require certified professionals for safety, legality, and warranty protection. This is not a DIY job.
Connecting the Outdoor Unit and Refrigerant Lines
Proper outdoor unit placement is key. It needs a stable, level surface away from direct sunlight and airflow obstructions. We recommend a composite pad, which absorbs vibrations better than concrete. Modern units are quiet, but we still consider noise levels for you and your neighbors.
Connecting the lineset requires precision. If the lines need cutting, the ends must be perfectly deburred and flared with specialized tools to create a leak-proof seal. We use a torque wrench to tighten connections to exact manufacturer specifications to prevent leaks or damage.
Preventing leaks is critical. After connecting, we pressure test the system with dry nitrogen to find any leaks and remove moisture. We apply a bubble leak detector to every joint for verification. This attention to detail is why Regular Maintenance Matters.
Handling Refrigerant and Electrical Wiring
Refrigerant and electrical work must be performed by EPA-certified technicians. Refrigerant operates at high pressures (R410A can reach 604 psi) and can cause severe skin burns. According to EPA regulations, it is unlawful to vent refrigerant into the atmosphere. We use specialized equipment to safely handle and recover refrigerant.
Before adding new refrigerant, we pull a deep vacuum on the system (to 500 microns or less) to remove all air and moisture, which can cause corrosion and system failure. We then perform a standing vacuum test to ensure there are no leaks.
High-voltage electrical connections must follow the National Electrical Code. The unit needs a dedicated circuit and a service disconnect box for safety. At Henderson Heating & Cooling, we handle every detail correctly. You can Learn about our professional process on our website.
Installing the Condensate Drain and Sealing
A proper condensate drain system prevents water damage. We connect the drain line (usually PVC) to a floor drain or pump, ensuring a continuous downward slope of at least 1/4 inch per foot for free-flowing water. We also install a trap and an overflow safety switch to shut the system off if a clog occurs.
Finally, we seal the exterior wall penetration with caulk and sealant to keep out rain, pests, and air leaks. A durable lineset cover is installed to protect the lines from UV damage and weather, completing the professional installation.
Finalizing and Testing Your New AC
Your ac indoor unit installation is almost done, but the final step—commissioning—is what separates a good installation from a great one. This process is a thorough health checkup for your new AC, ensuring it operates at peak efficiency and reliability.
The Commissioning Process for Your ac indoor unit installation
Commissioning is a comprehensive testing phase performed by a qualified technician. The process involves:
- Running the unit through all modes (cooling, heating, fan-only) to observe its behavior and listen for any irregularities.
- Checking pressures and temperatures throughout the system and comparing them to manufacturer specifications. This includes monitoring superheat and subcooling to ensure the refrigerant charge is perfect.
- Verifying airflow to confirm the indoor unit is moving the correct volume of air for effective cooling.
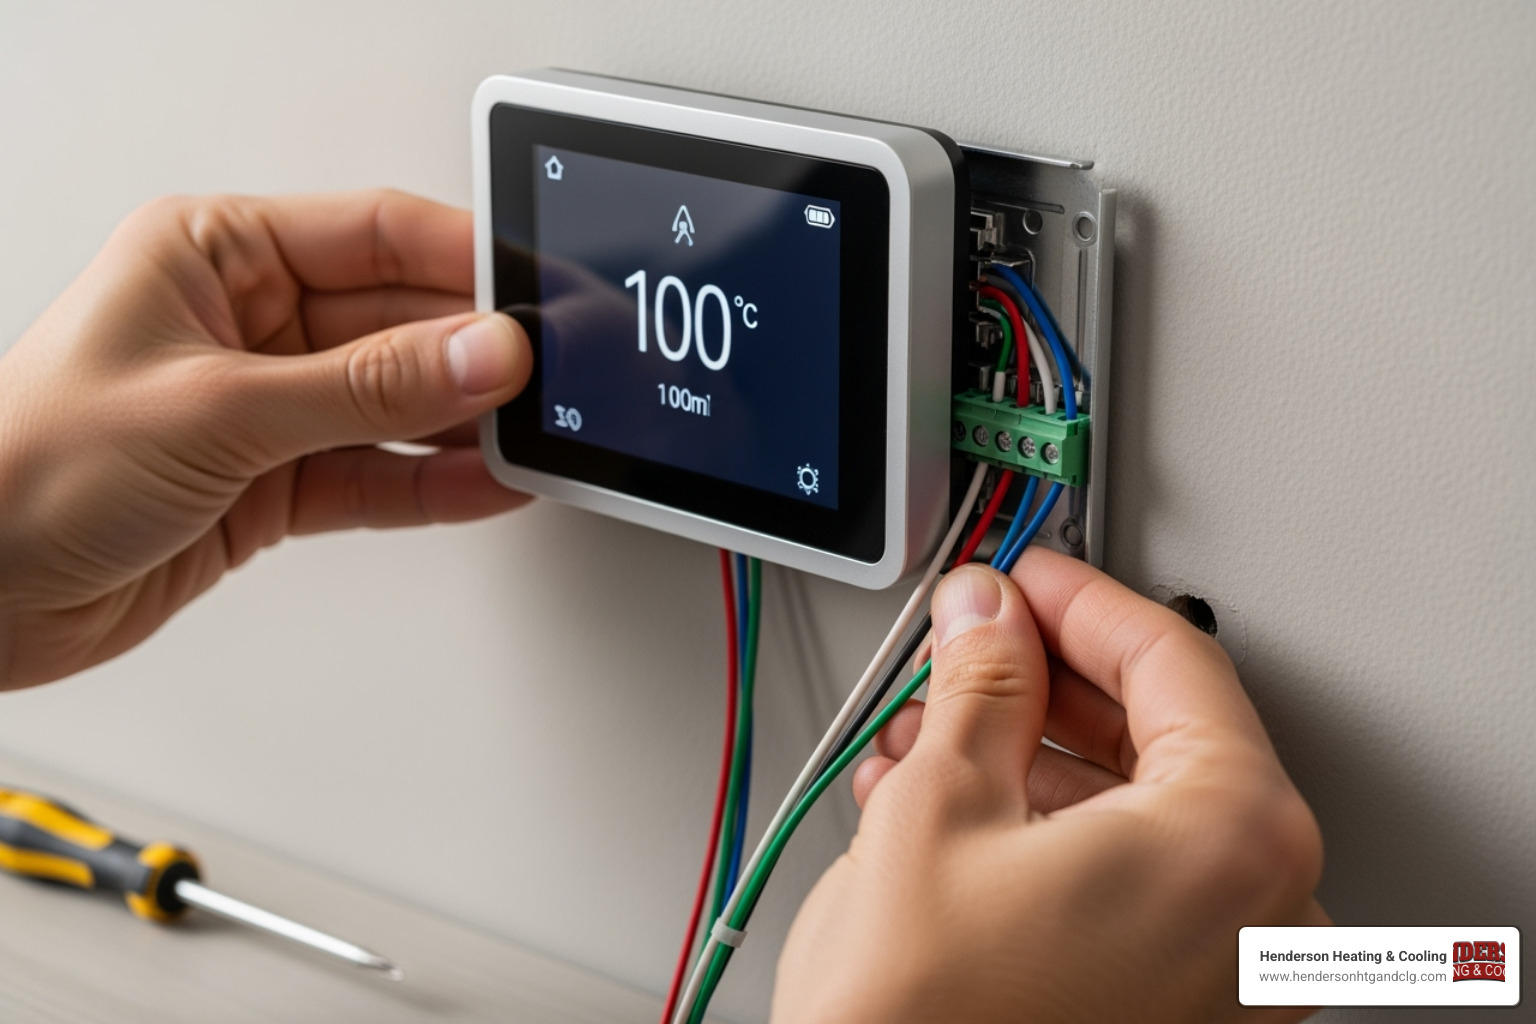
- Calibrating the thermostat for accurate temperature readings and proper communication with the system.
We record all data points to establish a baseline for future maintenance and troubleshooting. This process, which takes about an hour, ensures your system delivers the comfort and efficiency you expect from day one.
Common Mistakes to Avoid
Installation errors can lead to high energy bills and premature system failure. Here are common mistakes that highlight the need for a professional:
- Incorrect Sizing: An oversized unit cycles improperly and fails to dehumidify, while an undersized unit runs constantly.
- Poor Placement: An indoor unit too close to the ceiling won’t circulate air well. An outdoor unit in a tight corner will overheat.
- Kinked Refrigerant Lines: Sharp bends in the copper tubing restrict refrigerant flow and can damage the compressor.
- Improperly Sealed Connections: Slow refrigerant leaks reduce cooling capacity and efficiency over time.
- Skipping the Vacuum Process: Moisture left in the lines creates acids that corrode the system from the inside out.
- Electrical Work Errors: Incorrect wiring is a safety hazard that can cause malfunctions or even fires.
- Improper Condensate Drainage: An incorrectly sloped drain line can lead to water backup, mold, and property damage.
Frequently Asked Questions about AC Installation
Installing an air conditioning system is a big investment, so it’s natural to have questions. Here are the most common ones we hear from homeowners in Southwest Missouri.
How high should an AC indoor unit be installed?
For optimal air circulation, we mount indoor units at least 7-8 feet from the floor. This height allows the cool air, which naturally sinks, to distribute evenly throughout the room. It’s also crucial to maintain at least 4-6 inches of clearance between the unit and the ceiling, as well as on the sides. This breathing room ensures the unit can draw in air efficiently without being restricted.
Can I reuse my old refrigerant lines for a new system?
We almost always advise against reusing old lines. Modern AC systems use different refrigerants (like R410A) and oils than older systems (which used R22). The incompatible oil residue left in old lines can mix with the new oil, causing acid formation, corrosion, and catastrophic compressor failure. This damage will also void your new unit’s warranty. In the long run, it’s safer and more cost-effective to install a new, clean lineset designed for your equipment.
What is the difference between single-zone and multi-zone installation?
This comes down to how many indoor units you need and how much control you want.
-
A single-zone system connects one indoor unit to one outdoor unit. It’s a simple, straightforward solution perfect for cooling a single room or area, like a home addition or a master bedroom.
-
A multi-zone system connects multiple indoor units to a single outdoor unit. Each indoor unit can be controlled independently, allowing for different temperatures in different rooms. This provides incredible energy efficiency, as you only cool the spaces you’re using. However, the installation is more complex and requires professional expertise to balance the system correctly.
Stay Cool with a Perfect Installation
The process of ac indoor unit installation shows how modern comfort blends DIY-friendly tasks with essential professional expertise. While homeowners can often handle mounting the unit, the technical heart of the system—refrigerant, electrical, and drainage connections—requires the skilled hands of a certified professional.
Proper installation is the foundation of your AC’s performance. A correctly installed system provides years of reliable service, lower energy bills, and consistent comfort. Cutting corners on technical work can lead to expensive repairs, safety hazards, and voided warranties.
At Henderson Heating & Cooling, we’ve seen the difference professional installation makes. We proudly serve homeowners throughout Lebanon MO, St Robert MO, Camdenton MO, and Southwest Missouri with our Comfort Promise. We specialize in high-quality Daikin systems that come with 12-year warranties, which depend on proper installation by certified technicians.
Why stress over technical details when our experts can handle it all? We take care of the complex work so you can enjoy your perfectly climate-controlled home.
Ready to experience the Henderson difference? Schedule your professional AC Installation Services today and let us show you what a truly professional ac indoor unit installation looks like.